How to manufacture the shell and tube heat exchanger II
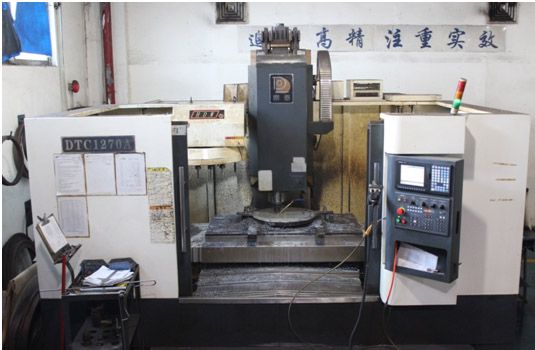
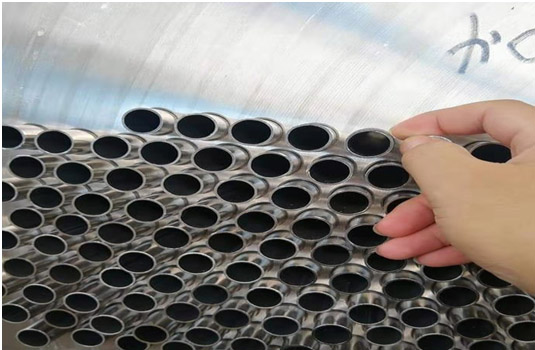
4. Machining: after checking whether the dimension (outer diameter, thickness) and material of the tube sheet meet the requirements of the drawing, the surface roughness of the machined tube sheet shall not be greater than 25 μ m, and the tube sheet plane shall be visible.

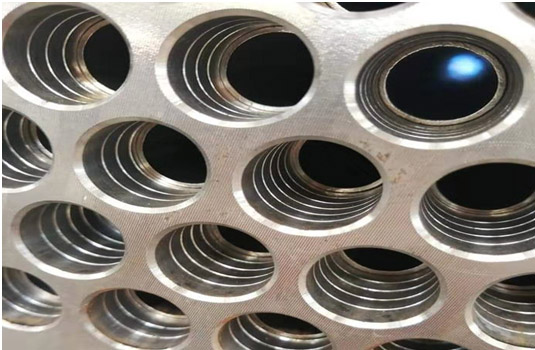
5. Tube plate hole processing: after the tube plate hole of the heat exchanger is finished by the CNC machining center, ensure that the tube plate hole is vertical to the sealing surface of the tube plate, and the hole surface is not allowed to have longitudinal traces of continuity, so as to ensure the effective sealing after the mechanical expansion of the heat exchange tube and tube plate hole.
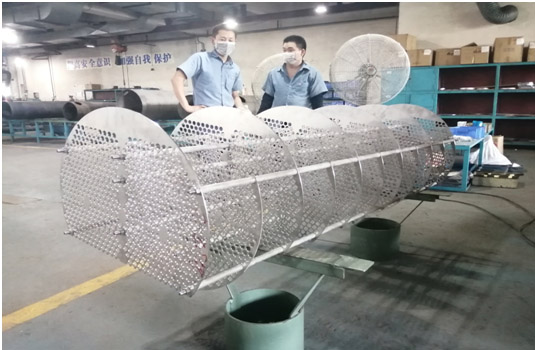
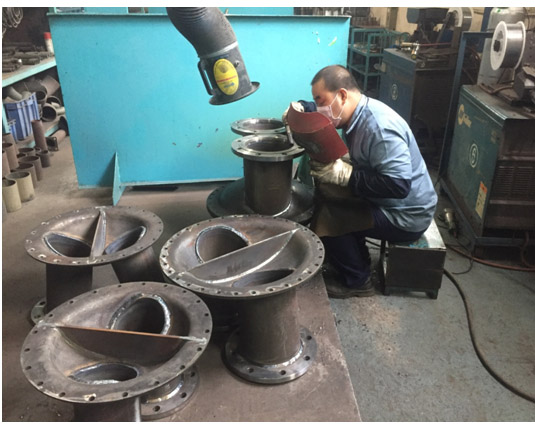
5. Fabrication and assembly of baffle plate: the baffle plate assembly is divided into two types, I-type and spiral type. After assembly, the baffle plate assembly is sleeved into the shell to ensure that the upper and lower baffle plates fit the shell wall, and the clearance is not more than 3mm, to prevent the influence of water flooding and ensure the heat exchange performance.
6. Assembly and welding of end cover: weld both inside and outside to ensure the welding strength of pipe orifice. Reduce the weld leakage rate.
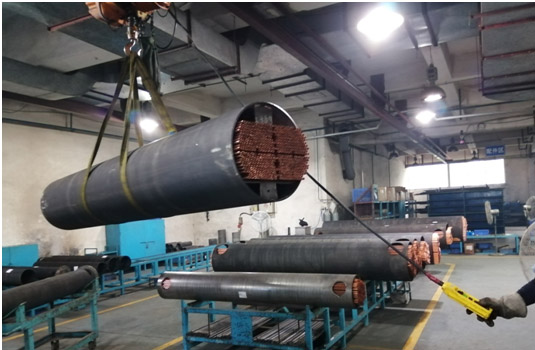
7. Welding of tube plate and shell: assemble according to the process requirements to ensure the concentricity and perpendicularity of tube plate, cylinder and heat exchange tube. All welds and pipe orifices shall be welded by carbon dioxide gas shielded welding, and welding shall be conducted in strict accordance with the requirements of the product welding process card.

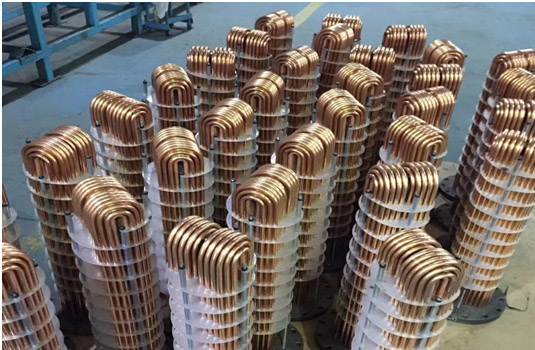
8. Tube expansion: adopt German Technodata numerical control tube expansion machine, mechanical rolling expansion strength expansion, to ensure the sealing performance after tube expansion position expansion of heat exchanger.
9. Air tightness test: assemble all pipe orifices, fill nitrogen or dry compressed air to conduct air tightness test on all pipe orifices and welds in the shell side, and keep the pressure for 24h without pressure drop.
10. Assembly: assemble the end cover after leak detection of the expanded pipe position, multi system evaporator and conduct the cross-talk test of the adjacent system, and maintain the pressure for 12h to ensure no pressure drop loss.
11. Support base installation: the bent compressor, electric box, filter and other brackets shall be assembled and welded according to the size required by the drawing.
13. Packaging and delivery: after the products are painted, assembled and packed in wooden cases, they are ready to be delivered.
Categories
New Blog
Copyright © 2015-2026 H.Stars (Guangzhou) Refrigerating Equipment Group Ltd.
/ Blog / Sitemap / XML / Privacy-policy